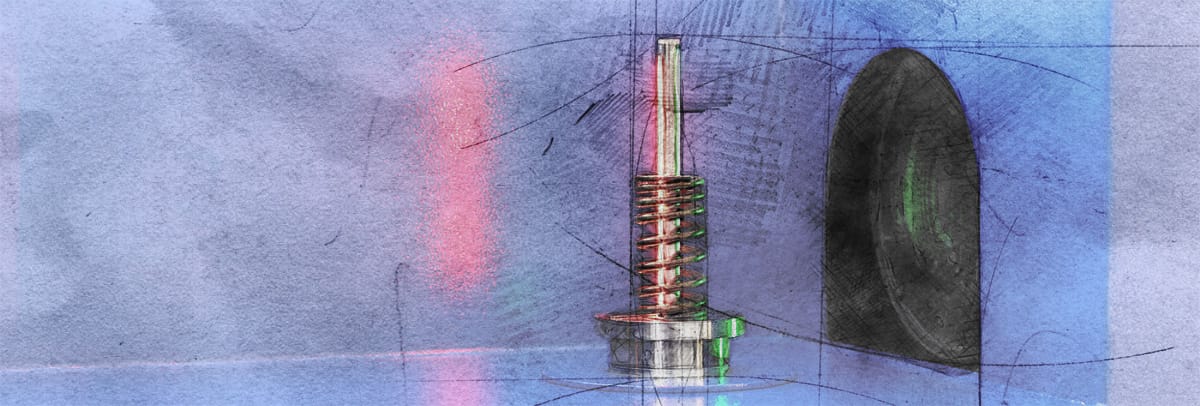
imess F435 provides a complete measurement and test for valve springs. The functions comprise the three most important steps which are required to constantly produce high quality. The optical measurement and test system automatically controls the quality of the spring, supports the setup of the coiler and delivers 3D file feedback for improved spring construction. In addition, a master spring is taught in to evaluate the geometry.
The quality control can be done in each production phase. Therefore, the system checks the important characteristics such as e1, e2, De and the grinding angle. The graphical depiction shows the numerical values as well as the progression of the spring in comparison to the master spring. The coiling graphic is available for pitch gap, pitch and diameter each in 3° steps. Thus, the spring can be evaluated immediately.
Moreover, the F435 includes an interface to the coiler which receives the entire coiling of the spring. The coiler provider, on the other hand, may use the data for automatical or manual correction of the spring coiling.
R&D departments require various information to improve the spring construction steadily. The F435 provides the respective date in a compressed 3D model. It is saved as txt file and can be read by CAD or other simulation programs.


