Thermography
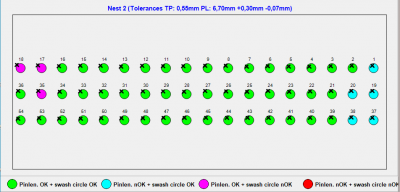
Runout check U100 T
Checking the location tolerances, run out, concentricity and co-axiality of building parts
- Optical and contact free check
- Sensor is turned around the sample
- Possible autmation inline
- Additional functions such as using lasers for crimping checks
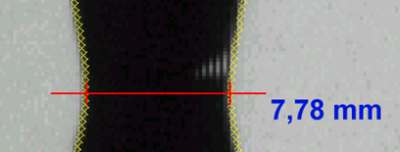
Reduction of area Z
Determination of Z-value of round samples
- Measurement within the stretch tester or afterwards via sample handling / roboter
- Measurement at 0° and 90° or 3° steps
- Contact-free and fast
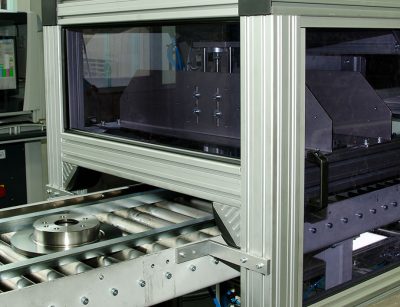
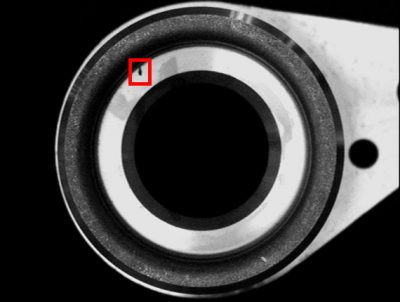
Brake Disc Check
To avoid misconstructions and production errors brake disc have to be tested inline.
- Borehole diameter // Angles of boreholes towards each other
- Complete test cabin with separation and sorting
- 100 % control
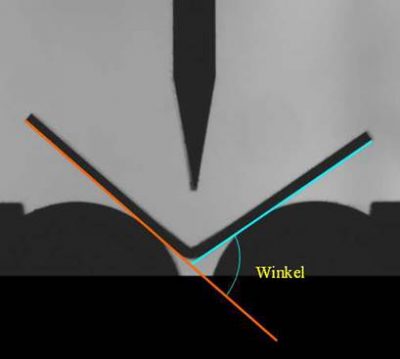
Break Angle Determination
Measurement of the break angle online during the disc-bending-test according to VDA 238-100
- Optical recording of angel parallel to force-way-measurement
- High frequency
- Easy operation
- Integrated interface to test machine
Cavities Check
Detection of cavities on sealing surfaces of aluminium pressure die castings according to VDG P202.
- Optical determination of cavities and their sizes according to Feret
- Classification according to different categories and good/poor decision
- Fast and highly accurate check
- Integrated in production line
- Statistical and graphical evaluation
Laser Applications
Contour measurement with laser line sensor
- Testing of valve position with triangulation sensor
- Record of slab geometry with laser scanners
- Form control with laser shadow scanners
- Individual software
Assembly Control
Amongst others control for completeness, control for existence at all
- Individual adjustment
- Black and white, colour, pivoting and tilting cameras possible
- Statistics function
- Test while moving
Profile Geometry
Profile bolts are cut along a line. The profile is checked at the cut area.
- Inline Measurement
- High accuracy
- 100% control
- Statistic, trend graphics and detailed documentation


