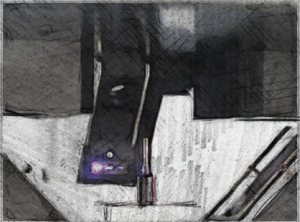
Inspection modules are integrated inline to observe the production 100%. The optical inspection systems can easily be integrated any time – even after line construction – due to their sparce space requirement.
Depending on the production environment, camera laser and possibly a backlight are used. The evaluation of the collected data and their immediate transfer to the customer PLC is done via our software. Thus, faulty products are sorted out reliably and reclamations are reduced significantly. In addition, nominal data, tolerances and more article defining data can be exchanged via various interfaces and the imess module.
We introduce some successfully realised projects. Do not hesitate to contact us regarding your inspection task; we develop a tailormade solution:
Break Disc Check
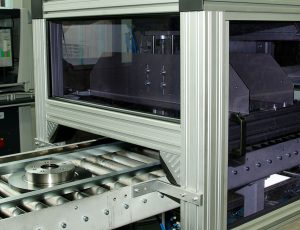
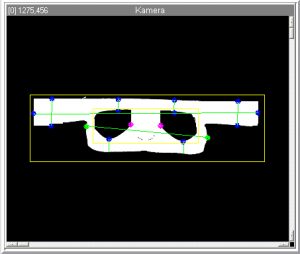
Complete test cabin with separation and sorting of the break discs. Among the inspection characteristics are borehole diameter, Angles of boreholes towards each other and distances.
Reduction of Area Z
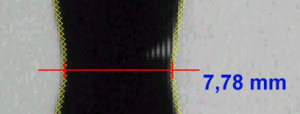
The measurement system determines the Z-value of round and rectangular samples. An inspection is generally done within the stretch tester. If the system includes automatic sample handling via robot, a subsequent inspection is also possible.
Cavities Check According to VDG P202
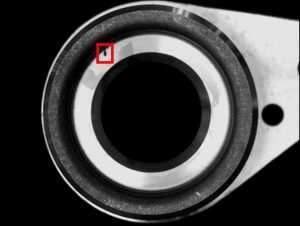
Optical detection of cavities and their sizes on sealing surfaces of aluminium pressure die castings. The cavities are classified according to different categories and good/bad decision.
Break Angle
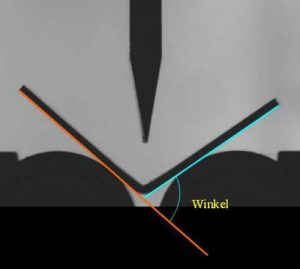
Measurement of the break angle online during the disc-bending-test according to VDA 238-100. Optical recording of angle parallel to force-way-measurement.
Measurement of Profile Geometry
Profile bolts are cut along a line. The geomtry is detected inline at the cutting area with a nominal-actual-value comparison.
Runout Check
Location tolerances such as runout, concentricits and co-axiality of parts are measured. In order to avoid swings of the test sample, the camera moves around the part itself.
Connector Inspection
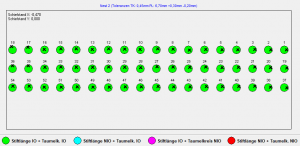
Pins are scanned from both sides with a laser to detect the location reliably. Click here (link HP-Text) to see more of the concept and measured characteristics.
Thermography
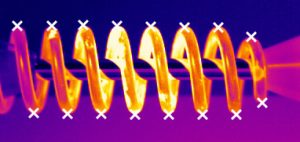
The use of thermography opens various new inspection opportunities. See for yourself how thermography can be integrated into quality control.


